
For best results, and to ensure your exhibition stands out, here are some helpful guidelines for preparing and formatting your Exhibition and Artwork/Object images.
Your Exhibition Feature Image
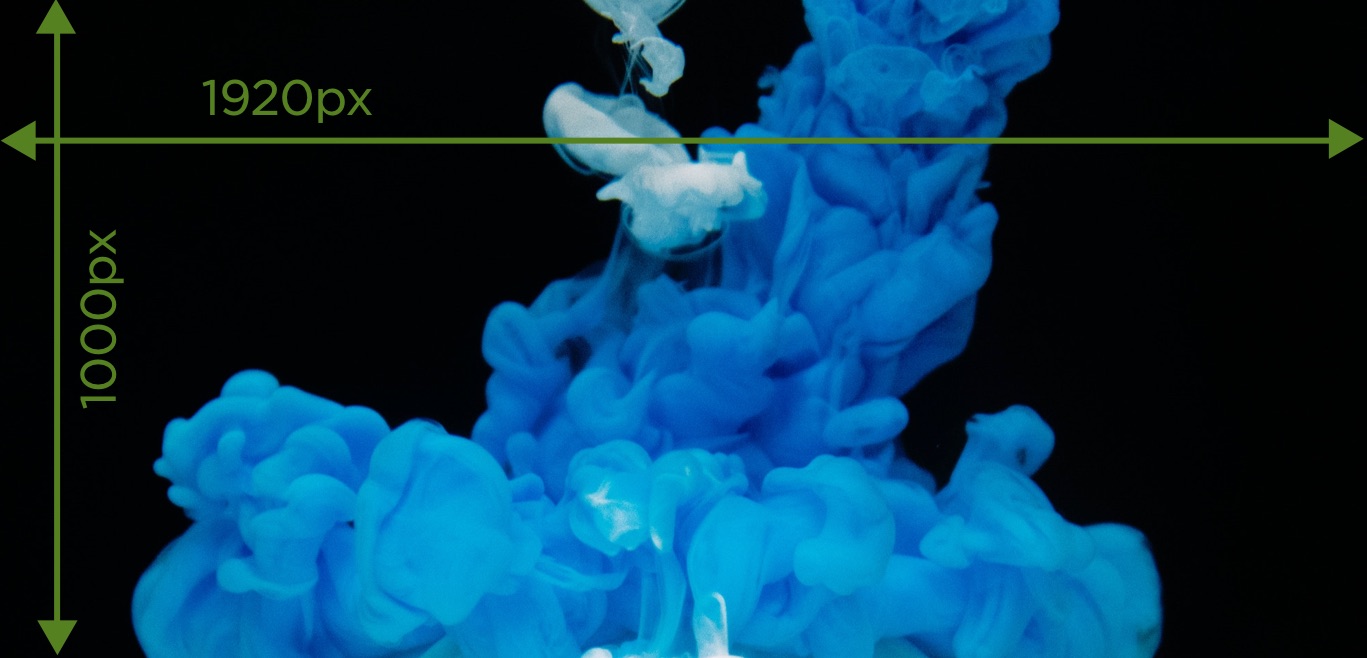
To avoid any pixelation or blurriness, your exhibition’s “Feature Image” should be a high quality .jpg or .png file measuring 1920px x 1000px up to a maximum file size of 2MB.
This image is displayed on your exhibition Entry Page and is promoted across the The Exhibit platform; such as on the home page, browse exhibitions page, and on your exhibitor profile page. Think of it like that image you would use on your exhibition poster or brochure.
This is also usually the first image people will see when your exhibition is shared on Social Media.
We suggest using a detail of an artwork or object from your exhibition or a photo of a grouping of several artworks in your exhibition.
You could also use an image or photo which references the themes and ideas highlighted in your exhibition.
Or you could even create a custom image in Sketch, Illustrator or Photoshop if you are familiar with these programs.
But whatever you chose, please make sure you either own the image, have permission to use it or have acquired an appropriate license to use it.
Please also avoid adding any additional text or promotional wording over your Feature Image. This is because your exhibition’s title, dates, location, and artist names will all be overlaid on it automatically by The Exhibit during your exhibition setup process.
Your Primary Artwork or Object Image
Your Primary Artwork or Object Image needs to be a high quality .jpg or .png file up to a maximum file size of 2MB.
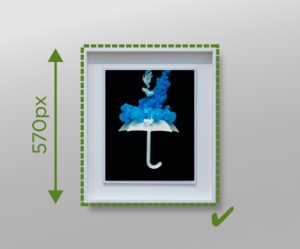
For images that are taller than they are wide (e.g. are a Portrait aspect), the minimum height of the file should be 570px high.
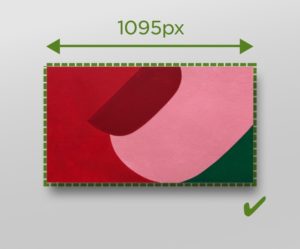
For images which are wider than they are tall (e.g. are a Landscape aspect), the minimum width of the file should be 1095px wide.
For images that have a Square aspect, the file should be a minimum 570px (wide) x 570px (high).
Photography Tips
The primary artwork or object image is the main photo displayed for each artwork/object included in an exhibition. It is the image which appears in the exhibition carousel and in the exhibition thumbnails. Because it is the main artwork/object image visitors to your exhibition will see, there are a few tips worth noting to make sure you give your visitors the best experience of your artwork/object. They are:
- When photographing your artwork/object, make sure to take your photo front on, not on an upward, sideways or downward angle. You want it to look just like it would hanging on the wall of an exhibition if a visitor was standing in front of it.
- Ensure you have the right lens on your camera, you don’t want to use something like a wide angle lens unless you really need to. This is because you don’t want to show your artwork/object as distorted or stretched in any way.
- Ensure you have good lighting when you photograph the artwork. You need to accurately reflect the colours in the artwork/object, so try not to make it too shadowy and dark or over exposed and bright. You can also use photo editing software such as Photoshop to further improve the colour balance of your photos after you have taken them.
- Ensure your image fully shows all the artwork/object, don’t use an up close detail or cropped image which misses out a side or section of the piece.
- If your artwork/object is framed or mounted we recommend showing this in your images so that you are accurately reflecting how your artwork/object looks to potential buyers.
- If your artwork/object is designed to be displayed on a plinth, stand or table you can choose to include this in your images if you wish.
Image Editing Tips
Once you have photographed your artworks/objects, here are some editing tips to get the files ready for upload to your online exhibition:
For Square and Rectangular Artworks:
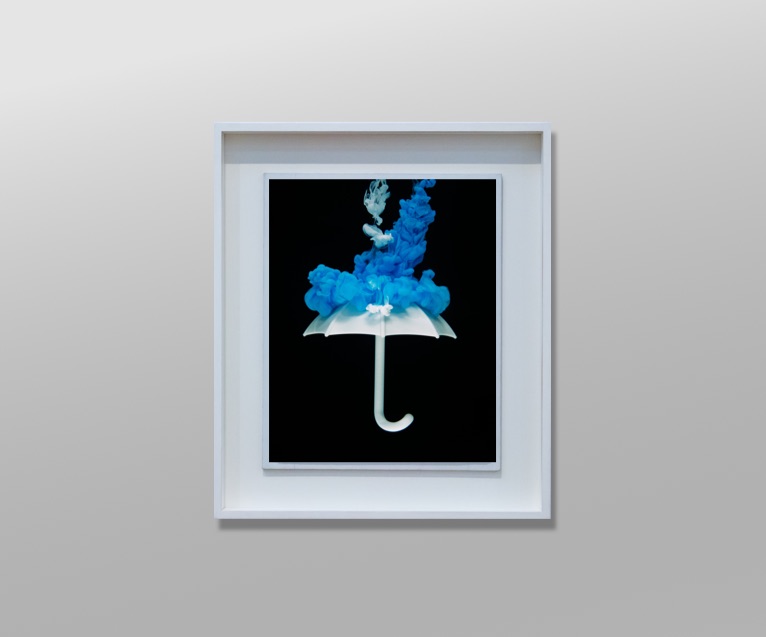
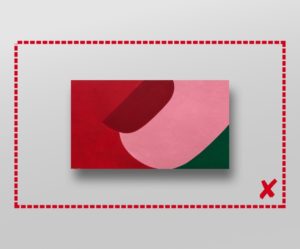
- We recommend trimming your artwork/object image right to the edges of the artwork/object where possible (as illustrated below). We suggest this so that when your artwork/object is “hung” on your online exhibition “wall” it looks as real as possible hanging on the wall colour you select for your exhibition.

For 3D and irregular shaped artworks/objects:
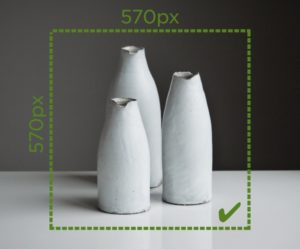
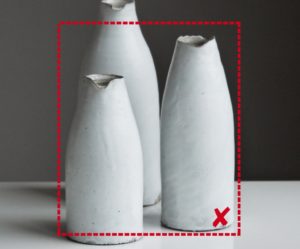
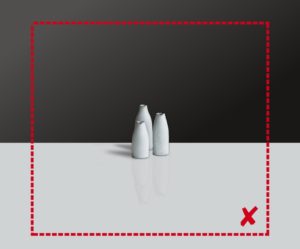
- If your artwork/object is not square or rectangular, you can, of course, leave a background showing and don’t need to crop it so closely. We would, however, recommend making sure the artwork/object is centrally positioned or balanced in the photo and not too far away so it appears small. You want to find a good balance between the artwork/object and the amount of background you choose to include. See our examples for cropping your artwork/object below.
Lastly, make sure your image file measurements, size and type match The Exhibit’s requirements mentioned above. You also want to make sure you have provided the highest quality file you can in the size outlined above. If your file is smaller than our recommended size and you increase it to meet the size requirements, your Primary Artwork or Object Images will be pixelated and blurry.
Additional Artwork or Object Images
As well as the Primary Artwork or Object Image which we discuss above, you can also provide up to 4 additional images for each artwork/object in your exhibition. This gives viewers a closer look at important details and for Free and Exhibitor Pro Plan users, provides potential buyers with a better overall feel for your artwork/object so they know what they are buying.
These additional images allow you to show side views, a back view, up close details of the paint texture, details of the framing, other special features or techniques, or even a photo of the artwork/object displayed in a gallery space or styled as it might look in a home. Adding additional images can be really helpful if you have an artwork/object which is designed to be viewed from all sides, as you are able to show multiple views from different angles.
Your Additional Artwork or Object Images need to be high quality .jpgs or .png up to a maximum file size of 2MB.
For images that are taller than they are wide (e.g. are a Portrait aspect), the minimum height of the file should be 570px high.
For images which are wider than they are tall (e.g. are a Landscape aspect), the minimum width of the file should be 1095px wide.
For images that have a Square aspect, the file should be a minimum 570px (wide) x 570px (high).
Photography Tips
When taking your additional photos it is good practice to:
- Make sure you have the right lens on your camera, you don’t want to use something like a wide angle lens unless you really need to. This is because you don’t want to show your artwork distorted in any way.
- Make sure you have good lighting when you photograph the artwork/object. You need to accurately reflect the colours in the artwork/object, so try not to make it too shadowy and dark, or over exposed and bright. You can also use photo editing software such as Photoshop to further improve the colour balance of your photos after you have taken them.
Image Editing Tips
Once you have taken your additional photos, here are some editing tips to get the files ready for upload to your exhibition:
- Make sure your image file measurements, size and type match The Exhibit’s requirements mentioned above.
- You also want to make sure you have provided the highest quality file you can in the size outlined above. If your file is smaller than our recommended size and you increase it to meet the size requirements, your Artwork/Object Images will be pixelated and blurry.
Ready to exhibit?
Start creating your first online exhibition today, for free!
Have more questions?
View our Exhibitor Handbook for more helpful guides, or please don’t hesitate to contact us at support@theexhibit.io and we’ll get right back to you!